Home Gym Injury Prevention: 6 Mistakes That Put UK Lifters Out for Weeks
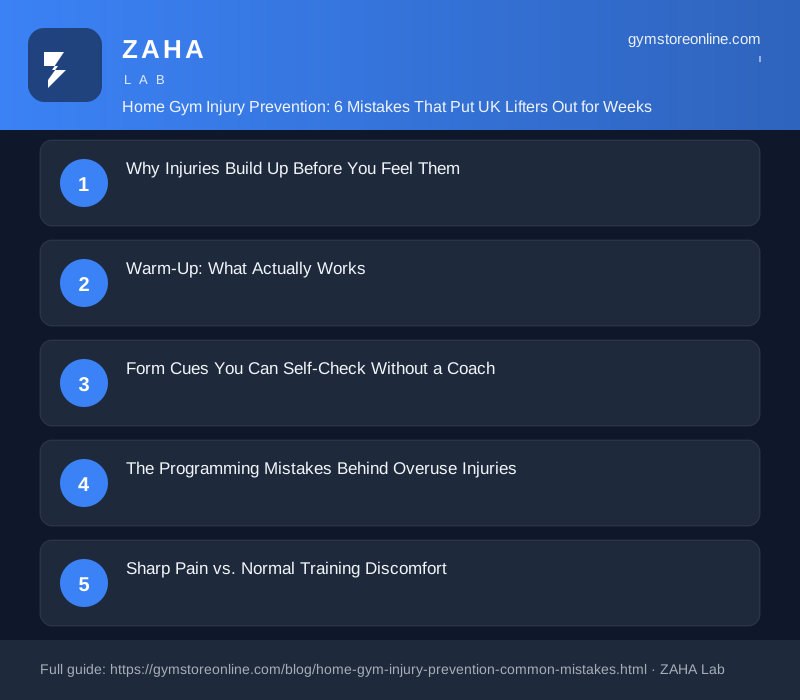
The majority of recreational strength training injuries happen not from pushing too hard once, but from repeating a small error hundreds of times. Training at home, without anyone to flag that error, compresses the timeline considerably.
Home gym injury prevention depends on three things you can control immediately: a targeted warm-up, honest form checks with a camera, and a programme that never increases load by more than 10% per week. The rest of this guide covers where most home gym lifters go wrong and how to fix it.
Why Injuries Build Up Before You Feel Them
Most home gym injuries are not freak accidents. They are weeks of small errors that accumulate until something gives. Research into recreational strength training consistently identifies the lower back, shoulder, and knee as the most common injury sites, with overuse rather than acute trauma accounting for the majority of cases.
The common thread: a poor movement pattern repeated at increasing loads. At a commercial gym, a coach or a watchful training partner might flag your rounded back on a deadlift. At home, that rounded back becomes your default. By the time you feel pain, the tissue damage has been building for weeks.
Warm-Up: What Actually Works
A five-minute treadmill jog raises your heart rate. It does not prepare your rotator cuff for overhead pressing or your hip flexors for squatting deep. Sport scientists distinguish between general warm-up, which raises core temperature, and specific warm-up, which activates the exact muscles and movement patterns you are about to load. Both matter.
For a lower body session, include bodyweight hip hinges, banded clamshells (10-12 reps per side), and two lighter sets of your first main exercise at around 30-40% of working weight. For upper body days, add band pull-aparts (15-20 reps), shoulder CARs (controlled articular rotations), and scapular push-ups. The whole sequence takes 8-12 minutes. Skip it and you are asking cold tissues to absorb forces they are not ready to handle.
Form Cues You Can Self-Check Without a Coach
You do not need someone watching to train with sound form. You need a phone. Recording a set from the side and front takes 10 seconds and gives you more usable information than most people get from gym mirrors.
For the squat: knees tracking over the second and third toes, not caving inward; torso angle consistent across reps; depth reaching or clearing parallel. For the deadlift: bar contact maintained along the shins throughout the pull; hips not shooting upward ahead of the bar; neutral spine from setup to lockout. For the bench press: wrists stacked vertically over elbows at the bottom; shoulder blades retracted and depressed throughout; feet flat or on a low support if the lower back arches excessively.
One cue that applies across nearly every compound lift: inhale, brace your core as if preparing for a punch, then initiate the movement. This intra-abdominal pressure protects the lumbar spine under load. Many home gym lifters skip this step entirely and are surprised when their back aches after deadlift day.
The Programming Mistakes Behind Overuse Injuries
The 10% rule is well-established in sports science: do not increase total weekly training load by more than 10% from one week to the next. Many home gym lifters ignore it. They feel strong, add weight and volume simultaneously, repeat this for several weeks, and arrive at golfer's elbow or patellar tendinopathy.
Relying entirely on bilateral exercises is a quieter problem. If every session uses barbells loaded the same on both sides, you never force the weaker limb to keep up. The dominant side compensates over dozens of sessions, joint stress becomes asymmetric, and injury follows on the weaker side. One unilateral exercise per session addresses this: Bulgarian split squats, single-arm dumbbell rows, single-leg Romanian deadlifts.
Rest is part of the programme, not evidence of insufficient effort. Tendons and ligaments adapt more slowly than muscle. You can build strength faster than your connective tissue can keep up. One full rest day per three to four training days is a floor, not a beginner-only suggestion.
Sharp Pain vs. Normal Training Discomfort
Muscle fatigue and burning during a hard set are expected. Sharp pain during a movement, joint pain, or pain that persists beyond 24 hours after training signals something different. Training through true pain accelerates tissue damage.
A practical rule: if pain reaches above 4 out of 10 during a movement, stop that movement. If it drops below 2 within 10 minutes, continue with exercises that do not load the same tissue. If pain stays above 2 after 10 minutes of rest, end the session for that body part. The same pain returning across three consecutive sessions despite reduced load is a clear signal to book time with a chartered physiotherapist.
Catching problems early saves time. A mild shoulder impingement addressed in week one typically resolves within two to three weeks. The same issue ignored for a month often requires three to four months of rehabilitation.
Gear Worth Considering
The right equipment reduces injury risk without overcomplicating your setup.
- [10MM LEATHER LIFTING BELT, e.g., a lever or prong-style belt]: Helps create intra-abdominal pressure during heavy compound lifts. Use it at 85% of maximum effort and above, not as a crutch for every warm-up set. Multiple options available on Amazon UK across a range of price points.
- [FABRIC LOOP RESISTANCE BAND SET, e.g., hip circle or glute band set]: Covers most of a lower body warm-up at low cost. Banded clamshells, lateral band walks, and hip thrusts are difficult to replicate with free weights at warm-up intensity. Decent sets cost under £20 on Amazon UK.
- [GYMNASTIC RINGS OR SUSPENSION TRAINER]: Forces symmetry in pressing and pulling movements. If one side is significantly weaker, the equipment shifts and shows you immediately. Rows, push-up variations, and dips on rings reveal imbalances that a fixed barbell will not.
Frequently Asked Questions
How long should a home gym warm-up take?
8 to 12 minutes is a sensible target. Split it into 3-4 minutes of general movement (skipping rope, rowing machine, jumping jacks) and 5-8 minutes of specific activation for the muscles you are about to load. If your session runs under 45 minutes, the warm-up takes proportionally longer, not shorter.
Can I train when I have DOMS?
Yes, with limits. Mild delayed onset muscle soreness that peaks 24-48 hours after training is not an injury. Light movement through the affected range often speeds recovery rather than hindering it. Avoid loading the same muscle group at high intensity until soreness drops below 2 out of 10.
Do I need a spotter for home gym training?
For barbell bench press, yes, or use a power rack with safety pins set at chest height. For squats near your maximum, safety pins or squat stand catchers are non-negotiable. For deadlifts, dumbbell work, and accessory movements, a spotter adds little practical value.
What is the most common home gym injury for beginners?
Lower back strain from deadlifts and squats performed with a flexed spine under load. Film yourself from the side, check for a neutral spine at setup, and reduce the weight until form is consistent before adding load again. A 60 kg deadlift with a neutral spine builds more usable strength than 100 kg with a rounded back.